Are your walls ready for a fresh coat of paint? Proper preparation is crucial for achieving a flawless finish. This guide will walk you through essential steps, including cleaning walls to remove mildew, repairing imperfections, and ensuring proper paint adhesion. You’ll learn how to prepare surfaces, from removing old wallpaper to applying primer. By following these tips, you’ll be well-equipped to tackle your painting project with confidence, avoiding common pitfalls and achieving professional-looking results.
Key Takeaways
- Proper wall preparation requires thorough cleaning, repairing imperfections, and using high-quality supplies
- Cleaning walls with appropriate solutions and addressing mold issues are crucial before painting
- Patching holes, sanding rough areas, and repairing drywall damage ensure a smooth painting surface
- Taping edges and protecting trim prevent paint bleeding and create crisp, professional-looking lines
- Selecting and applying the right primer improves paint adhesion and overall finish quality
Gather Essential Supplies for Wall Preparation

Proper wall preparation requires gathering essential supplies. This section covers selecting high-quality paint and primer, choosing the right tools like putty knives, organizing protective gear and drop cloths, and collecting caulking and repair materials. These tips apply to various rooms, from kitchens to bedrooms, ensuring a flawless finish regardless of heat or other environmental factors.
Select High-Quality Paint and Primer
Selecting high-quality paint and primer is crucial for achieving a flawless finish. Before painting, it’s essential to clean walls thoroughly, removing any fur or debris with a vacuum cleaner. Once cleaned, choose a primer that suits the surface and a paint that matches the room’s purpose, considering factors like moisture resistance for areas near water sources. Remember to test the paint on a small area and check how it looks under different lighting conditions before committing to the entire room.
Choose the Right Tools for Your Project
Selecting the right tools is crucial for effective wall preparation. A quality paintbrush, roller, and extension pole are essential for applying paint and primer evenly. For cleaning walls, use a sponge, detergent, and warm water to remove dirt and grime. When prepping the room, protect baseboards with painter’s tape and cover floors with drop cloths. To address imperfections, have spackling compound, sandpaper, and a putty knife on hand. For those considering Valspar paints, their website offers guidance on how to prep walls for painting, ensuring a smooth and professional finish.
Organize Protective Gear and Drop Cloths
Organizing protective gear and drop cloths is essential for a successful painting project. Painters should gather plastic sheeting to cover large areas, drop cloths for floors, and painter’s tape to protect trim. They should also have safety glasses, gloves, and a dust mask on hand. A sponge and paintbrush are necessary for applying primer and paint, while having extra supplies like rags and a stain remover can help address any unexpected spills or stains during the process:
|
Category
|
Items
|
|---|---|
|
Protection
|
Plastic sheeting, drop cloths, painter’s tape
|
|
Safety Gear
|
Safety glasses, gloves, dust mask
|
|
Painting Tools
|
Sponge, paintbrush, primer
|
|
Cleanup
|
Rags, stain remover
|
Collect Caulking and Repair Materials
Collecting caulking and repair materials is essential for addressing wall imperfections before painting. Painters should gather spackling paste, plaster, and fine-grit sandpaper to fill and smooth minor cracks and holes. A putty knife and brush are necessary for applying these materials effectively. For larger repairs, joint compound and mesh tape may be required. Painters should also have a dust mask and drop cloth on hand to protect themselves and the surrounding area from dust and debris during the repair process.
Clean Your Walls Thoroughly Before Painting

Thorough wall cleaning is crucial before painting to ensure a flawless finish. This section covers removing dust and debris, washing walls with appropriate solutions, addressing mold and mildew, and properly rinsing and drying surfaces. These steps, along with using sandpaper for smooth surfaces, are essential in preparing a room for painting and achieving professional results.
Dust and Remove Surface Debris
Proper wall preparation begins with thorough dusting and debris removal. This crucial step ensures a clean surface for paint adhesion. Using a microfiber cloth or vacuum with a brush attachment, painters should systematically remove dust, cobwebs, and loose particles from walls and corners. For stubborn dirt, a putty knife can gently scrape away residue without damaging the surface. Before proceeding with painting, it’s essential to move furniture away from walls and cover floors to protect them during the cleaning and painting process:
- Remove loose debris with a dry cloth or vacuum
- Use a putty knife for stubborn dirt
- Move furniture away from walls
- Cover floors with drop cloths
- Inspect walls for any remaining dust or particles
Wash Walls With Appropriate Cleaning Solutions
Washing walls with appropriate cleaning solutions is crucial for preparing surfaces for painting. Painters should use a mixture of warm water and mild detergent for general cleaning, while tougher stains may require specialized cleaners. For bathrooms, a solution of one part vinegar to four parts water effectively removes soap scum and mildew. When cleaning, painters should work from the floor up, using a sponge or soft cloth to avoid damaging the surface. After cleaning, it’s essential to rinse the walls thoroughly with clean water and allow them to dry completely before applying the first coat of paint:
|
Surface Type
|
Recommended Cleaning Solution
|
Tools
|
|---|---|---|
|
General Walls
|
Warm water + mild detergent
|
Sponge, soft cloth
|
|
Bathroom Walls
|
1 part vinegar + 4 parts water
|
Sponge, soft brush
|
|
Greasy Kitchen Walls
|
TSP (Trisodium Phosphate) solution
|
Sponge, scrub brush
|
Address Mold and Mildew Concerns
Addressing mold and mildew concerns is crucial when preparing walls for painting. Painters should inspect drywall and other surfaces for signs of mold or mildew, especially in damp areas. To remove these contaminants, a solution of one part bleach to three parts water can be applied to affected areas using a sponge or brush. After treatment, the wall should be thoroughly rinsed and allowed to dry completely before proceeding with painting preparation.
Rinse and Dry the Walls Properly
After thoroughly cleaning the walls, painters must rinse and dry them properly to ensure a smooth surface for painting. They should use clean water to remove any residual cleaning solution, working from top to bottom to prevent streaking. Once rinsed, the walls need to dry completely before applying caulk or filler to any cracks or gaps. This process is crucial for both ceiling and wood surfaces, as moisture can affect the adhesion and color of the paint. Proper drying time allows for accurate color assessment and ensures a flawless finish:
|
Step
|
Action
|
Purpose
|
|---|---|---|
|
1
|
Rinse with clean water
|
Remove cleaning residue
|
|
2
|
Work top to bottom
|
Prevent streaking
|
|
3
|
Allow walls to dry completely
|
Prepare for caulk/filler application
|
|
4
|
Check surface dryness
|
Ensure readiness for painting
|
Repair Wall Imperfections for a Smooth Finish

Repairing wall imperfections is crucial for achieving a smooth paint finish. This section covers patching holes and cracks with spackle, sanding rough areas, assessing drywall damage, and addressing peeling paint. These techniques, applicable to various surfaces including masonry and orange peel textures, ensure walls are properly prepared for painting, enhancing interior design outcomes.
Patch Holes and Cracks With Spackle
To patch holes and cracks effectively, painters should clean the area with soap and water, then vacuum any debris. They can apply spackle or joint compound to small imperfections using a putty knife, smoothing it flush with the wall surface. For larger holes, they may need to use a patch kit or drywall tape before applying joint compound. Once the compound dries, sanding the area ensures a seamless transition to the surrounding wall.
Sand Rough Areas to Create a Flat Surface
Sanding rough areas creates a flat surface essential for a smooth paint finish. After patching holes and cracks, painters should use fine-grit sandpaper to smooth the dried compound and surrounding wall. They should work in circular motions, applying even pressure to blend the repaired areas with the existing surface. Once sanding is complete, painters must wipe the walls with a damp cloth to remove dust, ensuring optimal paint adhesion.
Assess and Repair Drywall Damage
Assessing and repairing drywall damage is crucial for achieving a smooth paint finish. Painters should inspect walls for cracks, dents, and holes, categorizing them by size and severity. Small imperfections can be filled with spackling compound, while larger damages may require drywall patches or joint compound. For extensive damage, replacing sections of drywall might be necessary. After repairs, sanding the area ensures a seamless transition to the surrounding wall:
|
Damage Type
|
Repair Method
|
Tools Required
|
|---|---|---|
|
Small holes/cracks
|
Spackling compound
|
Putty knife, sandpaper
|
|
Medium holes
|
Drywall patch
|
Patch kit, joint compound, sandpaper
|
|
Large holes
|
Drywall replacement
|
Drywall saw, screws, joint compound, tape
|
Check for Peeling Paint and Resurface as Needed
Painters should inspect walls for peeling paint, which can indicate underlying moisture issues or poor adhesion. They should scrape off loose paint using a putty knife, then sand the area smooth. For extensive peeling, removing all old paint may be necessary. After addressing the root cause of peeling, painters should apply a primer to the affected areas before repainting. This process ensures a stable surface for the new paint and prevents future peeling:
- Inspect walls for peeling paint
- Scrape off loose paint with a putty knife
- Sand the area smooth
- Address underlying moisture issues if present
- Apply primer to affected areas
- Repaint the surface
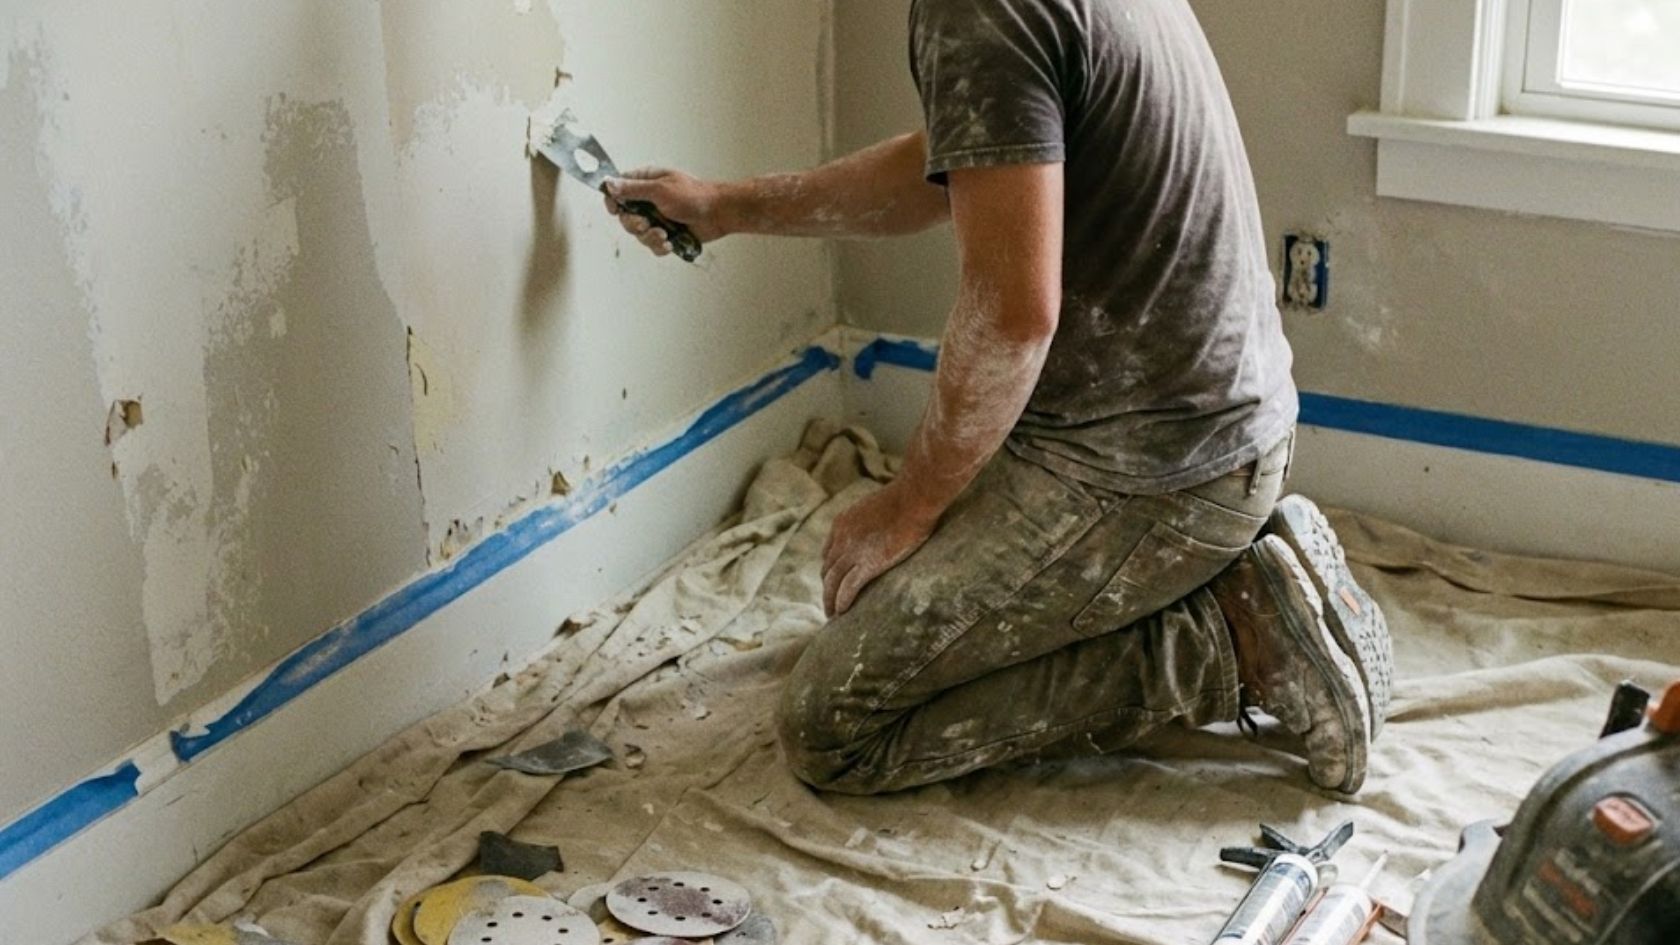
Tape and Protect Edges for Precision

Taping and protecting edges is crucial for achieving precision in painting. This section covers using painter’s tape to outline sections, protecting trim, outlets, and fixtures, and ensuring tape adhesion for clean lines. These techniques help prevent paint bleeding and create crisp, professional-looking edges, enhancing the overall quality of the paint job.
Use Painter’s Tape to Outline Sections
Painters use painter’s tape to outline sections, ensuring clean, precise lines between different colors or surfaces. They carefully apply the tape along edges, corners, and trim, pressing firmly to prevent paint seepage. For textured walls, painters may need to use a putty knife to seal the tape’s edge, ensuring a tight seal. After painting, they remove the tape at a 45-degree angle while the paint is still slightly wet for the cleanest lines.
Protect Trim, Outlets, and Fixtures
Protecting trim, outlets, and fixtures is crucial for achieving a professional paint finish. Painters should cover baseboards, door frames, and window sills with painter’s tape, ensuring a tight seal to prevent paint seepage. For electrical outlets and light switches, they should remove the cover plates and apply tape around the edges. Ceiling fans, light fixtures, and other hardware should be covered with plastic sheeting or specially designed covers to shield them from paint splatters and overspray.
Ensure Tape Adhesion for Clean Lines
Ensuring proper tape adhesion is crucial for achieving clean paint lines. Painters should clean the surface thoroughly before applying tape, removing any dust or debris that could prevent a tight seal. They must press the tape firmly along its entire length, using a putty knife or credit card to smooth out any bubbles or wrinkles. For textured surfaces, painters can apply a thin layer of caulk along the tape’s edge to create a barrier against paint seepage, ensuring crisp, professional-looking lines when the tape is removed.
Apply Primer to Ensure Better Paint Adhesion

Applying primer is essential for better paint adhesion and a flawless finish. This section covers selecting the appropriate primer for different paint types, techniques for even application using rollers and brushes, and the importance of allowing sufficient drying time before painting. These steps ensure a smooth, durable paint job that lasts.
Select the Right Primer for Your Paint Type
Selecting the right primer is crucial for ensuring optimal paint adhesion and longevity. Painters should consider the surface material, existing paint type, and the new paint to be applied when choosing a primer. For bare wood or drywall, a latex-based primer provides good coverage and adhesion. Oil-based primers work well for blocking stains and sealing porous surfaces. When painting over glossy surfaces or changing from oil to latex paint, a bonding primer ensures proper adhesion. Here are key factors to consider when selecting a primer:
- Surface material (wood, drywall, metal, etc.)
- Existing paint type (oil-based or latex)
- New paint type to be applied
- Presence of stains or odors
- Indoor or outdoor application
Use a Roller and Brush for Even Application
Using a roller and brush for even primer application ensures thorough coverage and a smooth foundation for paint. Painters should start by cutting in corners and edges with a brush, then use a roller for larger areas, working in small sections and overlapping slightly to avoid gaps. They should apply the primer in a “W” pattern for optimal coverage, maintaining a wet edge to prevent visible lines or streaks. This technique allows for efficient and uniform primer application, promoting better paint adhesion and a professional finish.
Allow Sufficient Drying Time Before Painting
Allowing sufficient drying time after applying primer is crucial for achieving a flawless paint finish. Painters should consult the primer’s label for specific drying times, which typically range from one to three hours. Adequate drying prevents the paint from peeling or bubbling and ensures proper adhesion. Factors such as humidity and temperature can affect drying times, so painters should consider these conditions and adjust accordingly.
Final Tips for a Flawless Paint Finish

The final steps in wall preparation are crucial for achieving a flawless paint finish. This section covers evaluating lighting to spot issues, maintaining a clean workspace, and conducting a final inspection before painting. These tips ensure that all imperfections are addressed and the surface is optimally prepared for a professional-quality paint job.
Evaluate Lighting to Spot Issues
Evaluating lighting is crucial for spotting wall imperfections before painting. Painters should examine walls under various light conditions, including natural daylight and artificial lighting, to identify subtle flaws. They can use a handheld work light to cast shadows across the surface, revealing uneven areas or missed repairs. This thorough inspection ensures all issues are addressed before painting, resulting in a smooth, professional finish:
- Check walls in natural daylight
- Inspect under artificial lighting
- Use a handheld work light for detailed examination
- Look for shadows revealing uneven surfaces
- Address any newly discovered imperfections
Maintain a Clean Workspace Throughout
Maintaining a clean workspace throughout the painting preparation process is essential for achieving a flawless finish. Painters should regularly sweep or vacuum the area to prevent dust and debris from settling on freshly cleaned or primed surfaces. They should also keep tools organized and clean, wiping them down after use to avoid contamination. By maintaining a tidy work environment, painters minimize the risk of imperfections in the final paint job and create a safer, more efficient workspace.
Conduct a Final Inspection Before Starting to Paint
Conducting a final inspection before painting is crucial for achieving a flawless finish. Painters should carefully examine the entire surface, looking for any missed imperfections, uneven areas, or residual dust. They should pay special attention to corners, edges, and repaired spots, ensuring all surfaces are smooth and properly primed. This thorough check helps identify any last-minute issues that could compromise the paint job, allowing for corrections before the first coat is applied.
Conclusion
Proper wall preparation is essential for achieving a flawless paint finish, encompassing key steps like gathering supplies, thorough cleaning, repairing imperfections, and applying primer. By meticulously addressing these aspects, painters can ensure better paint adhesion, longevity, and a professional-quality result. Attention to detail throughout the process, from protecting surfaces to evaluating lighting and conducting final inspections, significantly impacts the overall outcome. Investing time and effort in wall preparation not only enhances the aesthetic appeal of the painted surface but also saves time and resources in the long run by reducing the need for touch-ups or repainting.